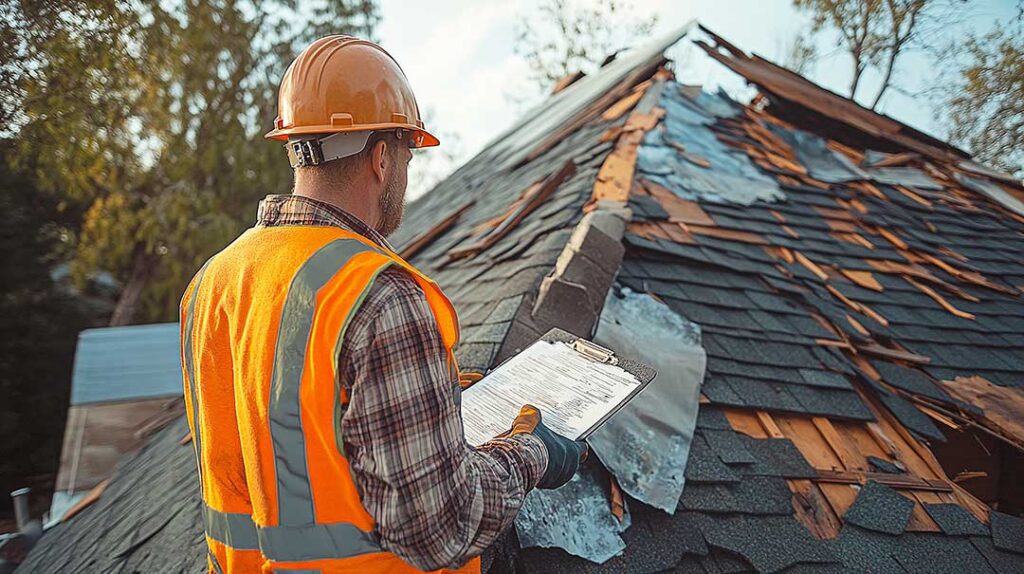
Roof repairs often fail because the visible damage is treated without addressing the reason it happened. A missing shingle, ceiling stain, or loose flashing may look like a small maintenance issue, but temporary or incomplete work can allow water to move into insulation, framing, and interior finishes.
For homes in Penfield, NY, seasonal temperature changes, snow, ice, wind, and repeated freeze-thaw cycles can expose weak repairs quickly. Understanding the most common mistakes helps property owners make safer decisions and recognize when a repair is incomplete.
What is the most common roof repair mistake?
The most common mistake is repairing the visible symptom instead of finding the leak’s actual entry point. Water rarely travels straight down from the place where it appears inside the home.
A ceiling stain may be several feet away from the damaged roof area. Water can move along roof decking, rafters, underlayment, insulation, or wall framing before becoming visible. Replacing one shingle directly above the stain may not solve the problem if the real cause is:
- Damaged flashing around a chimney, wall, or roof edge
- A failed pipe boot or vent seal
- An open seam in a roof valley
- Blocked or poorly directed drainage
- Wind-lifted shingles farther uphill
- Ice-related water backup near the eaves
A useful repair begins with tracing the likely path of water, not simply covering the first wet or discolored area.
Why is patching over damaged roofing a problem?
Covering damaged roofing with sealant, roofing cement, or another layer of material can hide deterioration without restoring the roof’s weather protection. These products may have a limited role in specific repairs, but they are not a universal substitute for replacing failed components.
Patching can create several problems:
- Moisture may remain trapped beneath the patch.
- The underlying wood or underlayment may continue to deteriorate.
- A smooth patch may not match the movement of surrounding materials.
- Future inspections become more difficult.
- The repair may fail during wind, rain, or snow.
A patch is especially questionable when the surrounding shingles are brittle, curled, cracked, or near the end of their service life. New material attached to an aging surface may not perform as expected.
Can a homeowner replace just one shingle?
Sometimes, but replacing a single shingle is not always as simple as removing it and installing a new one. Shingles can bond tightly to neighboring courses, particularly after warm weather. Pulling too aggressively may tear nearby shingles or damage the underlayment.
The replacement must also be compatible with the existing roof. Differences in shingle size, profile, color, fastening location, and exposure can affect both appearance and performance.
A single replacement may be reasonable when the surrounding roof is in good condition and the damage is clearly isolated. More extensive replacement may be needed when shingles have widespread granule loss, cracking, curling, or wind damage.
Another common error is using too few fasteners or placing them too high, too low, or outside the manufacturer’s recommended fastening area. Incorrect fastening can allow shingles to lift during strong wind.
Why does improper flashing cause so many leaks?
Flashing directs water away from joints, changes in roof angle, vertical walls, chimneys, skylights, and penetrations. Because these locations interrupt the roof’s continuous surface, they require careful detailing.
A frequent mistake is applying sealant around old flashing without checking whether the metal is loose, corroded, bent, or installed in the wrong sequence. Sealant can shrink, crack, or separate from the surface over time.
Flashing repairs can fail when:
- Step flashing is covered or removed incorrectly
- Counterflashing is missing or not embedded properly
- Fasteners create new holes in vulnerable areas
- Valley materials are cut too aggressively
- Pipe boots are cracked but only caulked
- Water is directed behind siding or trim
Flashing should work through its shape and overlap, not depend entirely on a bead of sealant remaining intact.
Is roof repair safe during snow or freezing weather?
Roof work during snow, ice, or freezing conditions creates additional safety and performance risks. Wet surfaces are slippery, hidden damage may be difficult to see, and some roofing materials become less flexible in cold weather.
Sealants, adhesives, and underlayment products may also have temperature limitations. A material applied below its intended temperature range may not bond properly or may remain vulnerable until warmer conditions arrive.
In the local climate, emergency measures may be necessary after storm damage, but a temporary covering should not be treated as a permanent repair. Snow should not be walked on or removed from a roof casually, since both the roof surface and the person performing the work can be damaged.
Roof access is particularly hazardous near icy eaves, valleys, and steep sections. Safety concerns are a legitimate reason to delay nonessential work until conditions improve or have the work handled by someone equipped for those conditions.
What drainage mistakes can damage a roof?
Poor drainage is often mistaken for a shingle problem. Gutters, downspouts, valleys, and roof slopes all work together to move water away from the structure.
Common drainage-related errors include:
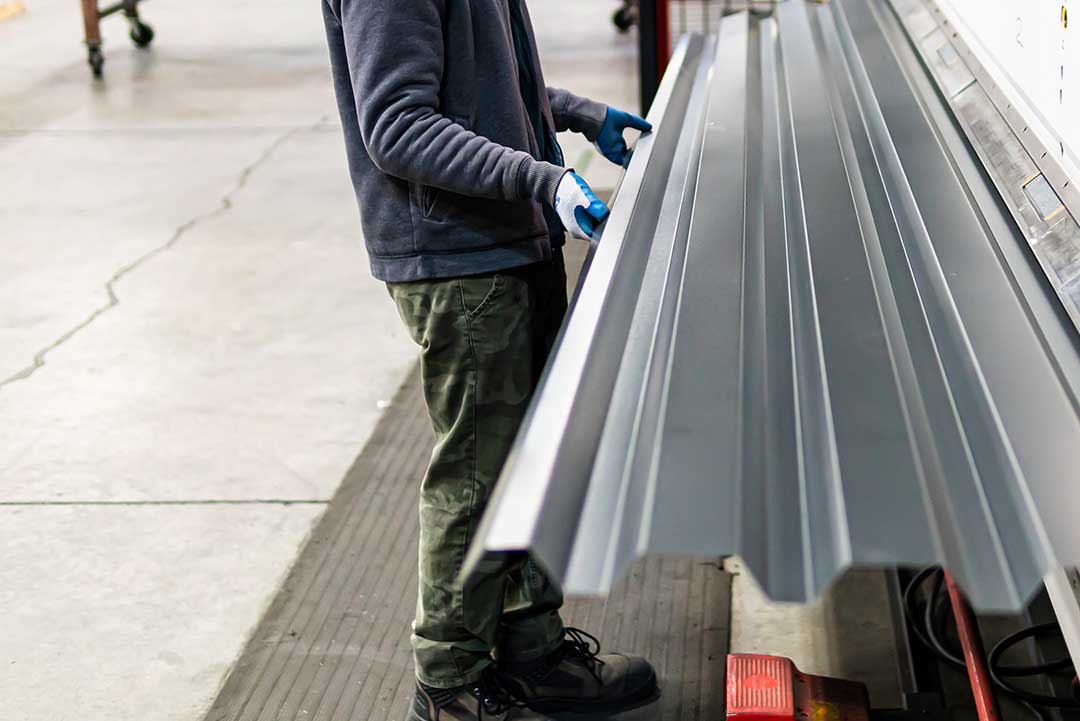
- Installing a gutter with too little slope
- Allowing downspouts to discharge beside the foundation
- Leaving leaves and roof granules in the gutter
- Blocking a valley with debris or roofing material
- Adding excessive sealant instead of correcting the slope
- Ignoring water that repeatedly spills over the gutter edge
In areas with falling leaves, heavy rain, snow, and freeze-thaw cycles, blocked drainage can contribute to ice buildup, wet fascia, rotted trim, and water entry at roof edges. Cleaning gutters does not repair every drainage problem, but it can reveal whether water is flowing as intended.
Why should attic conditions be checked after a leak?
A roof repair is incomplete if the interior impact is ignored. Water that reaches the attic may wet insulation, stain wood, encourage mold growth, or reduce the effectiveness of insulation.
After a leak, look for:
- Damp or compressed insulation
- Darkened roof decking
- Rusted nails or metal fasteners
- Water trails on rafters
- Musty odors
- Peeling paint or bubbling drywall below
The attic should be checked only when it can be accessed safely. Wet insulation may need attention even after the roof surface appears dry. A repaired exterior does not instantly remove moisture that has already entered the building assembly.
What should be documented before and after a repair?
Photos and notes can help determine whether a repair addressed the cause rather than only the appearance. Document the area from the ground, attic, and interior if those locations can be reached safely.
Useful details include:
- The date and weather conditions
- The location and size of interior staining
- Any missing, lifted, or cracked roofing materials
- The condition of nearby flashing and vents
- Whether the attic or insulation is damp
- Changes observed after the next rainfall
Repeated staining after a repair is evidence that the issue may be unresolved, even if the original spot appears sealed. Roof leaks can be intermittent, so one dry day does not prove that the repair worked.
The most reliable repair decisions come from identifying the source of water, considering the condition of surrounding materials, and accounting for seasonal weather. A small repair can be appropriate when the damage is isolated, but unsafe access, structural deterioration, active electrical hazards, or widespread roof failure require more than a quick patch.